Monday, April 30, 2012

baby | diaper bag

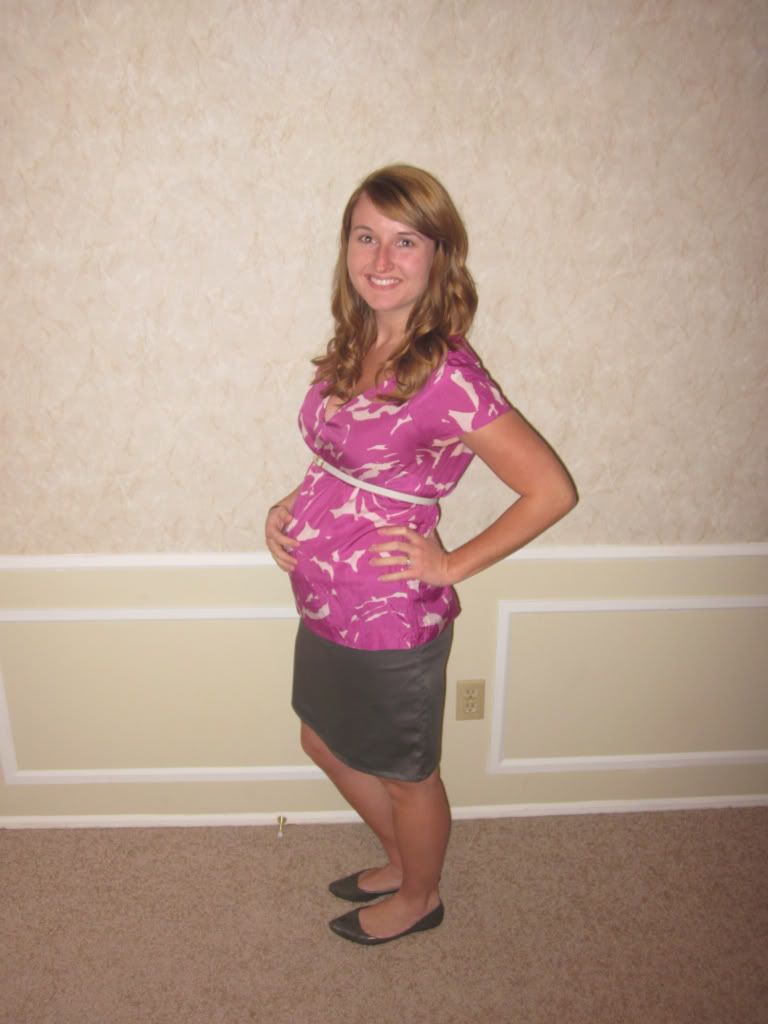
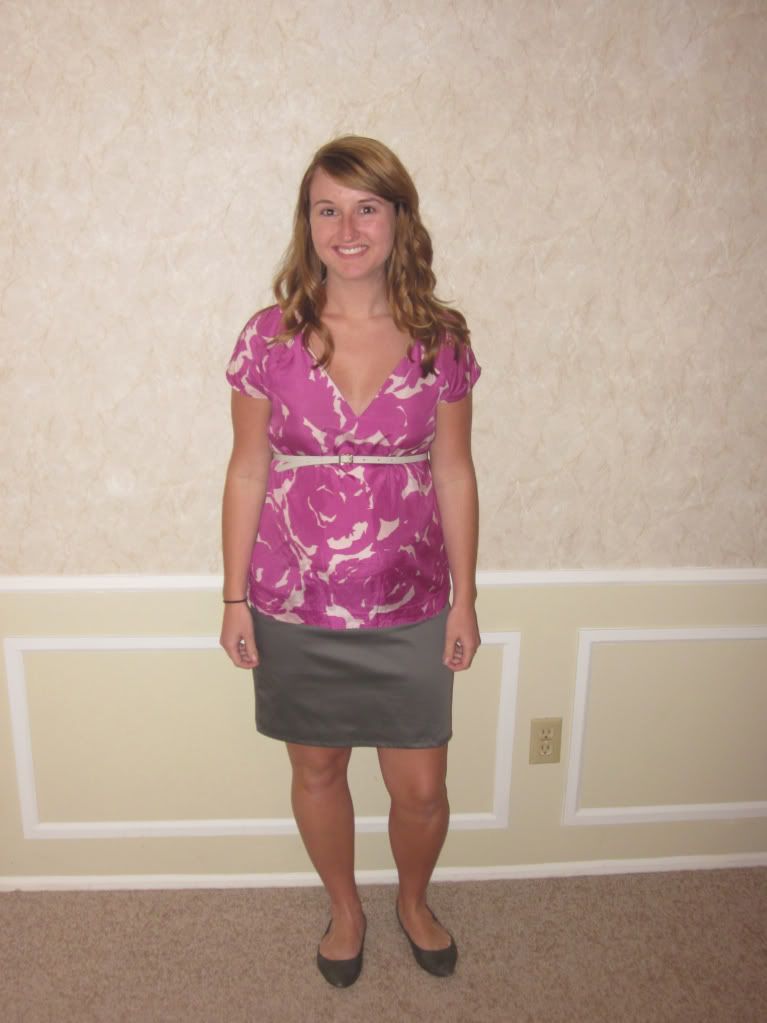
First of all, a HUGE thank you to my mother-in-law for my brand new JJ Cole diaper bag!  I love it and can't wait to put it to good use!


Even though I haven't actually used it with our baby yet, I can give you a quick review of a few of the features that I appreciate right off the bat:
1) It comes with awesome stroller grips.  These little guys are super handy and keep your diaper bag in arms reach instead of stuffed under a stroller or thrown in the back of a shopping cart.  Although they come with every JJ Cole diaper bag, you can purchase them separately here.  They will work with any diaper bag that has a way to clip them in place (rings, loops, etc.).

2) It comes with a nice, coodinating changing pad. It's pretty standard for diaper bags to come with changing pads, but I specifically like this one because it has a velcro closure so that it actually stays folded up in the diaper bag.

3) Great overall size. Some people mentioned in reviews that they thought it was a little too big for one baby, but that's exactly what I was looking for since I'll be heading back to work and taking our baby with me. The first thing on my diaper bag necessity list was something that would be large enough for baby and toddler gear but not insanely big or bulky. This bag seems to be the ideal compromise. Plus, if we decide to go away for a night (maybe even a weekend) it's plenty big enough to be the only bag we pack for the baby.

4) Fantastic pocket size and location. This bag has eight well designed outside pockets and four inner pockets. Two small zippered pockets on the front (perfect for keys, cell phone, lipbalm, pacifier, etc.), two open-top pockets directly behind the zippered ones, and two more on the back side of the bag (just the right size for a book, Kindle, diaper, umbrella, etc.), and finally two end pockets, one specifically shaped for a bottle/sippy cup and one for a water bottle/travel mug for mom. Inside the bag there are 4 medium size pockets (diapers, wipes, snacks, clothes) lining a large open compartment with plenty of room for all the things that won't fit in pockets (sling/wrap, nursing cover, blankets).
via

5) I love that this bag doesn't automatically scream "diaper bag". It's actually styled a lot like a regular bag I would pick out for myself which is especially nice since I'll probably give up carrying a purse and just stick to this do-it-all bag once the baby arrives. I had originally selected a nice, man friendly, generic diaper bag, but when I showed it to Isaac he encouraged me to pick out something I really liked since I will be carrying it every single day for the foreseeable future. He even said he would happily help carry whatever "girly bag" I picked out in the evenings and on weekends when we get to be together as a family. :) While I would have been totally fine with the man bag, it was very kind of him to encourage me to pick out something fun.

6) It has stay-put handles and a shoulder strap! Not only are the handles long enough to comfortably sling over my shoulder (and not slide off!), but it has a shoulder strap for completely hands free carrying. With a newborn and two year old in tow, I have a feeling I'll be using the shoulder strap a lot.


If you're in the market for a diaper bag, be sure to check out all the JJ Cole offerings here.

sew | nursing cover

I made a nursing cover using this tutorial from Prudent Baby (a fantastic DIY website, definitely check it out).

I made a couple changes from the tutorial. I did two coordinating fabrics instead of all one pattern. For two fabrics, get 3/4 yard of your main cover fabric and 1/4 yard of your accent fabric. I did my straps and a 5 inch pannel along the bottom in the accent fabric. Just remember to cut your main cover fabric about 5 inches shorter than the tutorial calls for unless you want a really long cover. I used a french seam and top stitching to attach the two pannels together for a really nice, clean look. I also used a longer length of boning in this cover. It was only 2 inches longer (16 inches instead of 14), but I found it a little more comfortable that way. Totally a matter of preference though.

Added bonus, until the kid gets here I can use it as a giant bib for the insane amount of food I'll be consuming between now and then.


Monday, April 23, 2012

sew | maternity skirt tutorial

I wanted this skirt to be really simple and quick to make. Only one pattern piece, two straight seams, one basic hem, and a piece of thick elastic for the top. There are lots of ways you could dress it up with buttons, pockets, etc., but I'll give you the basics and let you come up with the rest. I specifically wanted a straight skirt that could be dressed up or down. Most maternity skirts (especially summer ones) are very casual and either pretty full or very flowy and loose. Especially since I have a little somethin' going on the the hip region already, all the fabric in those styles can actually exaggerate the very area I would like to streamline. Straight skirts are still quite comfortable but just a little more versatile. Essentially this just the bottom half of a pencil skirt with elastic below your belly instead of being form fitting all the way to your waist. I made this one on the shorter side to be worn with sandals and flats and then another one in gray (you can see it below) that is a couple inches longer so I can wear it with heels to church.
Supplies:
Approximately 3/4 yard fabric (I used linen suiting for the red and stretch satin for the gray but any heavier non-stretchy or slightly stretchy apparel fabric will work)
Lighter fabrics like my linen will also need a lining (so that means 3/4 yard of lining fabric as well)
Coordinating thread
3 in thick elastic (and Rit dye if you feel so inclined)
Pins
A fabric or water soluble pen or marker
Pattern piece page 1
Pattern piece page 2

Download and print the pattern (please select "fill entire paper" while printing to get the correct sizing).  You don't need to overlap the edges of the two papers, just line up the asterisks and the solid black lines and tape together.  Cut off the excess to the left of the solid black line.

The pattern is approximately a size 4 petite -- I based it off of a non-maternity size 4 petite skirt that I have from Target.  The length of the skirt pattern is going to be closer to the gray one (pictured below) than the red one (pictured above).  I figured it's always easier to make a skirt a little shorter than longer so I'm giving you a little more margin to work with initially.  A seam allowance of approximately 1/3 inch is included in the pattern.

To make the pattern bigger, smaller, shorter, or longer, just trace the pattern piece on a sheet of tissue paper and then measure out/in an inch or two, draw your new lines, and cut out your new pattern piece.  Like I mentioned above, it's always better to start out too big since you can always cut a little more off, but if you start too small you're just out of luck.

Fold your (washed and dried) fabric in half and lay your pattern piece out flat on it. Pin it in place along the center fold and cut around the edge.  Repin and cut a second identical pattern piece.  When you take out the pins you should have two identical skirt shaped fabric pieces. Pin the right sides together and sew a straight seam down each of the sides. Now you should have a skirt shaped tube of fabric. To make the hem, fold the bottom edge of the skirt under about a 1/2 an inch and iron (this will help give you a nice smooth hem). Fold the edge over another 1/2 an inch and iron again. Sew the hem all the way around. If you are making a lining for your skirt, go back to the beginning of the directions and repeat everything for the lining up to this point.
Now you should have one skirt tube and possibly one lining tube. Next we make the waistband. Take your 3 inch elastic and pull it snug around your waist just a little under you belly. Leaving an extra half inch on either end for your seam, cut the elastic. Pin the edges of the elastic together and sew a straight seam to form the waistband. Go ahead and pull the waistband up over your hips and around your belly to make sure it fits and is comfortable. Now pin the lining into the skirt just around the top edge and (careful, watch out for pins!) slide both up over your hips and under the band of the elastic (you're still wearing it right?). The elastic will hold up the skirt temporarily and allow you to mark where you want to sew the elastic in place. Now is the time to adjust the length, pull the elastic down a little lower in the front (it should cradle your belly) and generally check for sizing and fit. If anything needs to be adjusted, it will be a lot easier to do before you sew the elastic in place. Now, while you're still wearing the skirt, take your fabric pen and draw a line on the fabric right along the edge of the elastic (you may need to grab someone to help you mark the back). Slide everything off and cut the fabric and lining about 3/4 of an inch above the line you just marked.
This next part gets a tad confusing but bear with me. Take your lining, turn it inside out, and slide it up over the outside of your skirt. Make sure the front side (with the dip for your belly) is lined up. Pin the top edges together and sew the two pieces of fabric together all the way around the top. Flip the lining down inside the skirt where it should be and you have a nice finished edge along the top.
Now pin your elastic waistband to the top edge of the skirt (overlapping the skirt about a 1/2 inch), stretching the elastic a little as needed, so that it is secured at several points all the way around. Sew a seam along the bottom edge of the elastic securing it to the skirt. You're done!

A few notes:
I dyed my elastic so it would at least be in the same color family as my skirt. You probably won't ever be able to get it to match exactly but it can be better than bright white (although the waistband doesn't show at all anyways!).

My elastic band was slightly smaller than my skirt so I stretched it slightly as I sewed so it was somewhat even all the way around. However, don't worry if one section of your skirt is a tad more "puckered" when you sew it because once you have it on it all gets stretched out and you won't be able to tell at all.

Here's the longer (but otherwise exactly the same) gray version:

A quick note on cost:
The fabric for each skirt cost me $3.46 and the elastic was $1.37 for a total of $4.83/skirt.  I had the lining left over from another project but lining is dirt cheap anyways and usually worth every penny.

baby | 21 weeks

Not much to report this week, but everything is going well and I feel great.  I'm able to feel the baby move quite frequently and wow is she strong!  A few nights ago, we were sitting in bed while watching a show with the laptop on my lap when the baby kicked and jiggled the laptop.  We found that incredibly entertaining. :)

I also haven't thrown up in almost a week never mind, I started writing this last night and I guess I spoke too soon. At least my nausea is now frequently limited to only mornings, a real blessing!  I also feel like I look pregnant enough now that people just assume that I have a baby in there and not just a lot of sandwiches.

Favorite foods lately include: bananas, strawberries, grapefruit, pineapple, cereal, peanut butter, grilled cheese with bacon and avocado, and chicken salad.  I've been figuring out that cold meats like deli turkey (my doctor said that cold turkey and ham are absolutely fine, it's processed meats like bologna, olive loaf, hotdogs, etc. that you need to avoid), bacon and chicken salad don't make me sick like warm/hot meat does. Yay for more protein!  Getting a little more meat in my diet has made it a little easier to gain weight too -- I'm up to almost 3 lbs of weight gain now and it's so encouraging! I've been drinking a ton of milk lately too.  I didn't dislike milk before, but I would rarely just get a glass to drink.  Now I'm drinking several glasses a day!  Along with the milk, cheese and ice cream often sound really good as well.  Baby must need the calcium.


P.S. I'm working on a tutorial for the skirt that I'm wearing in the picture -- I hope to post it soon.  I just need to finish the pattern, but I've never put a pattern online before so there's a lot of trial and error. :)

Friday, April 20, 2012

sew | gauze swaddle blanket

I found this tutorial for gauze swaddle blankets a while back and finally picked up some fabric this week. I am thrilled with the gauze fabric! Super lightweight, a little stretchy, and the most gorgeous texture. Not to mention that at around $3.50/yard it's a pretty economical option. I didn't like the colors they had at Joann Fabrics so I just got white and dyed it with some leftover Rit dye that I had at home (equal parts orange and scarlet). It ended up coming out this amazing deep coral color -- exactly what I was hoping for. This fabric dyes really well, and you could theoretically do just about any color you wanted so don't be discouraged if you can't find what you want at the fabric store!


Ruby loves the blanket -- I may have to make her one too!

Thursday, April 19, 2012

sew | changing table part two ~ pad and cover

As promised, here is the follow up to the changing table topper/caddy post.

If you happened to read the first post, you know that we don't really have room in our bedroom for an actual changing table along with everything else. You also know that the dresser we will be using as a changing table is a few inches short of most commercial changing pads. The easiest fix was to make one myself using high density foam. I wrote the directions below purposely without specific measurements because if you want to make one for yourself you have to customize it to your space anyways.

Materials:
High density foam (between 2 and 3 inches tall) cut to fit your dresser top/changing table (you can find foam at most fabric and craft stores)
Approximately 1 yard of PUL or vinyl fabric for inner waterproof cover
Approximately 1 yard decorative fabric for outer cover (I personally like the feel of minky fabric but any cute cotton fabric will work)
5/8 inch elastic -- the length of the elastic is up to you depending on how tightly you want your cover to fit

Take the length and width measurements of your foam and add 8 inches to each -- these will be the measurements you use the cut your fabric (see left side of diagram below). Once your fabric is the proper size, cut a 7.5 inch square out of each corner. The easiest way to do this is to fold your fabric in half lengthways and then again in half width ways and cut the square from all four layers at once (see the right side of the diagram). Make sure you cut from the corner with all four loose edges. You don't want to accidentally cut the wrong corner and end up with a hole in your fabric! Just FYI, these are the same basic principles you use when making a fitted crib sheet so check out this tutorial for a more detailed explanation and pictures.

Next, pin the right sides of each cutout together and sew with a straight seam creating 4 corners that will fit snugly around your pad (I recommend checking the fit before sewing). To create the elastic casing, fold the edge of the fabric over approximately 1/2 inch then another 3/4 inch and pin all the way around. Sew with a straight seam as close to the top edge of the casing as possible, leaving a one inch gap to feed the elastic through the casing. Attach a safety pin to one end of the elastic and feed the elastic all the way around the casing. Sew the ends of your elastic together and close up the one inch opening. That's it, you're done!

Use these directions to make both the waterproof inner cover and the decorative outer cover. In fact, you should probably make a couple outer covers so you always have a clean one handy. I made my outer cover a little bigger than the inner cover just because I wanted the inner cover really snug so it won't come off when I change the outer cover.


Tuesday, April 17, 2012

sew | maternity dress

The past couple weeks have turned out to be a rather awkward time for me in regards to dressing myself. Mondays-Fridays are usually fine as I have plenty of casual, nanny appropriate choices but Sundays and special occasions have been challenging. Most of my regular clothes still fit, and I'm starting to fit maternity stuff as well, but sometimes it feels like I'm too in between and neither category really looks that great on me. Dresses are surprisingly difficult because my normal dresses don't hang right over my belly but maternity dresses have too much additional fabric to accommodate a farther along belly (which I know I'll be thankful for very soon). This all became very apparent last Friday night after I had tried on every single dress in my closet, regular and maternity, and decided in embarrassingly hormonal style that I had absolutely nothing to wear to our nephew's baptism the next morning.

I've been using a pattern for a loose tunic style shirt since I was in high school. I've used it so many times because it's incredibly versatile and only has four pattern pieces (and no zipper!!). I had thought in the past that it might also work well as a maternity dress thanks to the loose design and pleats but hadn't tried out that theory. Well no time like the present and no motivation quite like utter desperation! I added extra length to the front and back pieces and cap sleeves but otherwise just used the basic pattern (New Look 6705 available at Wal-Mart for a couple bucks if anyone is interested in making one).   It makes a perfect in between dress, enough fabric in the front to accommodate my growing belly but not so much that it overwhelms my frame. I'm hoping it will continue to fit for a couple more months, but even if it doesn't this pattern could easily be adjusted for even more room in the front!
After our nephew's baptism
Since you already know my options are limited, I also wore it to church the next day. :)
Just FYI, this dress (and really almost any maternity dress) should probably be belted or it looks very muumuu-ish.   Somewhat along the lines of these gems of pregnancy past...
via

Monday, April 16, 2012

food | easy biscuits


I made these a couple weeks ago on a Sunday afternoon.  They are so delicious.  And easy.  We're talkin' lazy Sunday afternoon easy. Like make in between naps easy.

Check out the recipe here.

Now if you're thinking that mine don't look quite like the ones from the recipe, you'd be right.  I may have not gotten everything exactly like I was supposed to.  Like how I wasn't really paying attention when I pulsed the butter in the food processor and completely obliterated it instead of leaving it in "pea sized" chunks.  Or how I accidentally used the 3/4 measuring cup instead of the 1 cup when doling out the flour (to be fair, the identifying fractions have worn off all my measuring cups so I go based on relative size and grabbed the biggest one I saw, forgetting that I had one in the dishwasher). Come to think of it, as I was actually making these in between naps, I may not have been completely awake which may have contributed to these problems. I didn't notice my flour error until I had already dumped the dough out to be kneaded, so I just added in some extra flour until the dough felt about how I thought it should.  Even after all that they still came out looking, and more importantly, tasting like biscuits.  That, my friends, is just how easy and fool-proof this recipe is.  Will they be better, lighter, and flakier if I actually follow all the directions next time? Probably. But we ate them all anyways.

build | changing table part one ~ topper and caddy

We really want to have the baby in our room for the first 6 months or so, but we were a little apprehensive about how we would fit everything  in our room. We usually have two dressers in our room but decided that, with the addition of the nursery furniture, we would only keep the shorter of the two dressers in our room and use the top as a changing table.  Our dresser top is just a couple inches too short to comfortably fit most commercial changing pads, but I figured I could make one with a little foam and some PUL fabric for a cover.  I also like the added security of a changing table topper (not that I ever plan on leaving the baby on the changing table, but it keeps the pad from sliding around).  These changing table topper/dresser combos are what I loosely based my design on:
via

via
I love the attached caddy on these toppers but our dresser is already on the short side. I decided to try attaching a caddy to the side of the dresser instead and see if that would provide us with a little more functionality.

I built two simple box frames using a 12' 1x4 -- a large box for the topper and a small one for the caddy. I predrilled and used 1 1/2" screws to put it all together, then filled in holes with wood putty. I sanded and topped it all off with two coats of leftover paint from when I originally painted the dresser.

Building the topper and caddy in my dining room workshop


I used two corner braces as the primary means of securing the caddy to the side of the dresser, but I also put a couple screws through the inside wall of the dresser into the caddy for added strength. I secured the changing table topper to the dresser with two mending plates screwed into the back side of both.

Here are the basic supplies and dimensions I used for this project:
(1) 12' 1x4 primed pine board
(2) corner braces
(2) mending plates
A thick piece of heavy duty cardboard for the bottom of the caddy
Lots of 1 1/2" screws
Wood putty
Sandpaper
Paint

If you don't have the ability to cut your board at home, Home Depot and Lowes will cut your board for free. You will need to adjust the dimensions to fit your dresser but this will hopefully give you a starting point.

Topper:
2 pieces cut at 29"
2 pieces cut at 14"

Caddy:
2 pieces cut at 12"
2 pieces cut at 8"

You can get all those cut from one 12' board with a little left over.

Interesting fact, did you know that a 1x4 board isn't actually 1" by 4"? It's actually 3/4" by 3 1/2". I always have to remember that little fact when I'm designing projects, sometimes a 1/2" makes all the difference!

Stay tuned to see the changing pad and cover...

Thursday, April 12, 2012

baby | 20 weeks and it's a......

Halfway.  Wow.  It's crazy how quickly the time has passed since we found out we were expecting our baby!

We had our ultrasound last week and it went really well!   It was so fun "seeing" our baby, and they sent us home with some great pictures -- the 3D pictures of the face are especially cool.

I know a lot of you have been asking, so here comes the big news.  As some of you know, we had been going back and forth on if we wanted to find out the gender of our sweet baby at the ultrasound.  Well we finally decided the night before our appointment that, assuming our baby cooperated, we did want to find out.   The ultrasound tech was able to tell within the first minute of the ultrasound, and it is with great joy that we look forward to welcoming a baby girl!

Already a cutie!  She kept her hands up by her face for the entire ultrasound which made it a little difficult for the tech to get a few of the pictures she needed, but we thought it was pretty cute.
From the initial look at the ultrasound, the doctor said that she (!!!) is right on track for growth but officially adjusted my due date from August 31st to September 2nd.

In other news, starting about a week ago I've been able to clearly feel her moving!  Actually, the first time I was positive I felt her move Isaac was able to feel her too!   We were laying in bed and he had his hand on my belly when all of a sudden he looked at me and said, "did you feel that?" right as I said, "did you feel that?".  There were a couple times in weeks previous when I thought I might have felt something but was never able to tell for sure until that night.   I don't know if it's just because I'm finally able to recognize what I was feeling all along, or if we just reached the point where her movements are discernible, but ever since that evening I've been able to feel her moving multiple times a day.   I also gained my first prego pound this week - good things happening all around!

And just in case you were wondering, we have already chosen her name, but we plan to keep it a secret until she's born. :)

Monday, April 2, 2012

baby | custom burp cloths round 2

You can find my first post here.  At the recommendation of my sister-in-law, who is a new mom herself, I tried a different burp cloth shape with the extra fabric I purchased:
You can find the pattern and tutorial here.

These are perfect!  They fit on your shoulder SO well, they don't slide off, and the coverage is fantastic. They are longer than the first set I made (which is exactly what I wanted), but the true beauty is in the contoured side.  Thanks for the recommendation, Kris!     
Related Posts Plugin for WordPress, Blogger...